

How To Register A Name Server In Ples
Setting Default Name Servers in Plesk
The default name servers will be used for all of the hosting accounts on your account. This is a two-step procedure that requires beginning creating a new account, so modifying the DNS.
The following steps will guide you through the process:
- Step 1: Create a New Business relationship ⤵
- Step two: Ready the Default Proper name Servers ⤵
- Step 3: Register Proper noun Servers with Registrar ⤵
Step 1: Create a New Account
To create a new account for the domain using the global private proper name servers:
- Log in to Plesk Ambassador.
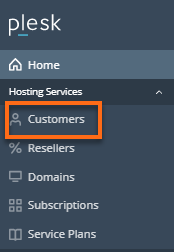
- From the left-hand navigation menu, expandHosting Services, and then click on theCustomers tab.
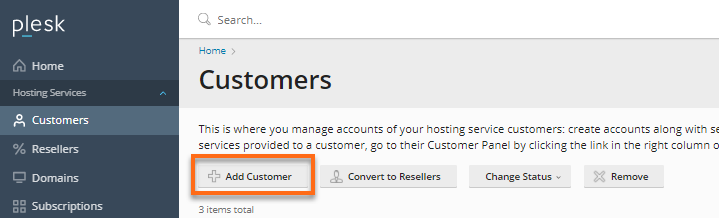
- From the top navigation menu, click Add Customerbutton.
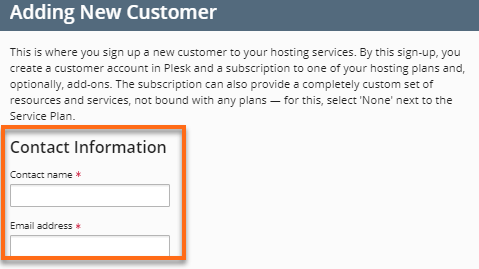
- In the Contact Information section, consummate the following fields:
- Contact proper noun
- Email address
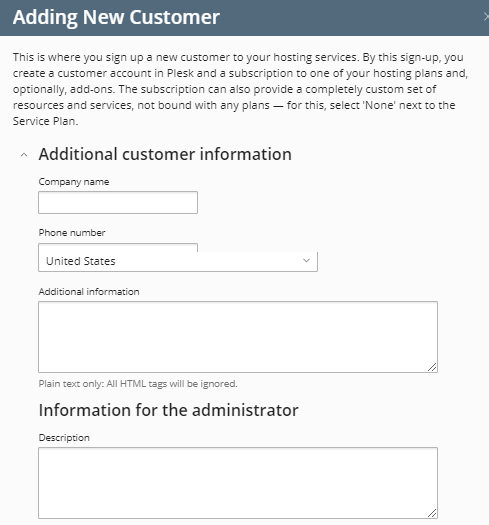
- In the Additional Client Information, complete the following fields:
- Company Proper name
- Phone Number
- Accost
- Information for the Administrator
- In the Admission to Plesksection, complete the following fields:
- Username
- Password
- Optional: Actuate Account by Email
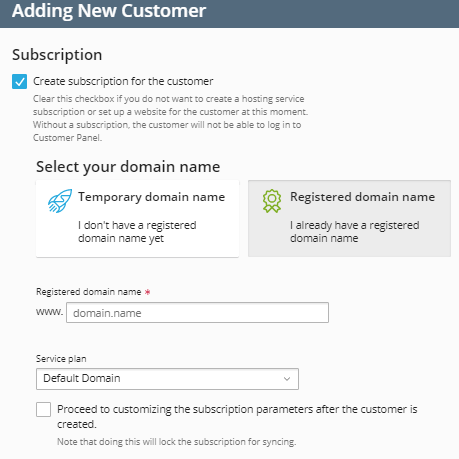
- Check the box for Create subscription for the customer.

- In the Subscription department, consummate the following fields:
- Select either to use a Temporary domain name or Registered domain proper name.
- Enter the Domain name
- Select a Service Plan - choose your service plan from the dropdown menu.
- In the Additional Subscription settings, complete the post-obit fields:
- Select an IP address from the dropdown menu
- Enter the Plesk username and password
- Description of the additional subscription

- Click on the Add Customer button to complete the business relationship creation.
Once the account has been created, the default name servers tin can be set.
Step two: Set the Default Proper name Servers
After the account has been created, the post-obit steps should be taken to prepare the default proper name servers:
- Log in to Plesk Administrator.
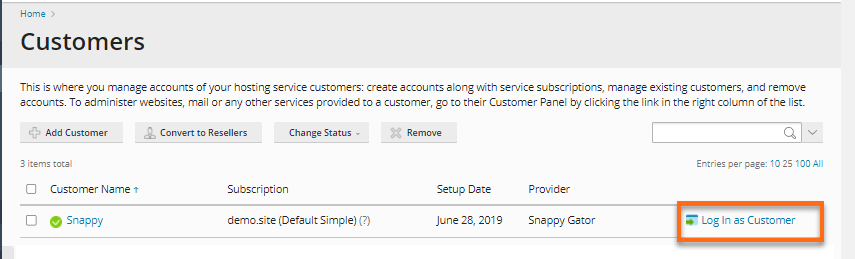
- Navigate to the Customers tab.
- Click on the Log in as Customer link for the customer yous are modifying.
- In the Websites & Domains section, click on the DNS Settings icon.
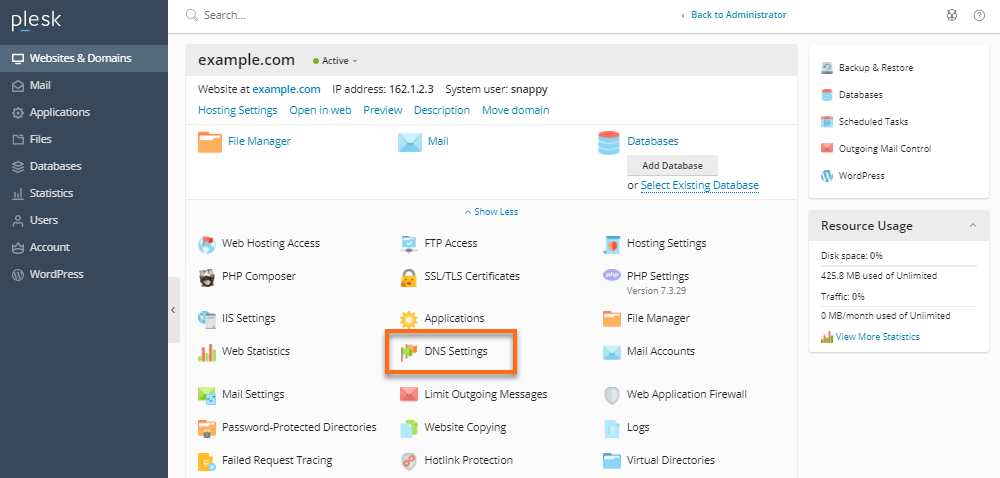
- On the DNS Settings folio, click on the Add Record button.

- On the Record Type dropdown, select A record. In the IP accost field, enter your server's IP address that tin can exist found in your Welcome electronic mail, or y'all may go to the Websites & Domains tab and locate the IP address as well your domain proper noun.
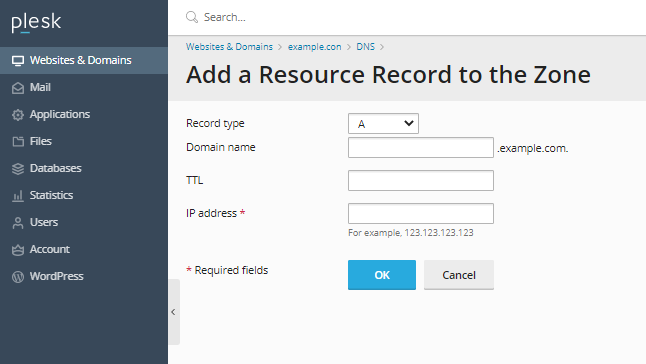
- To set the nameserver, clickAdd Record push from the top navigation menu.
- On the Record Type dropdown, select NS record.
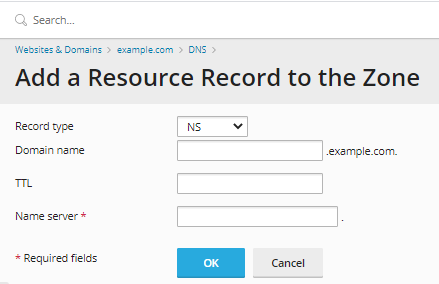
- In the Domain name box, blazon in ns1.
- In the IP address box, enter the primary IP address (equally constitute in Welcome Email).
- ClickOK.
- Set up the second name server past repeating steps 3-7, applying ns2 and ns2.domain.com where appropriate.
This generally takes 24-48 hours of propagation.
Y'all should now take the following two DNS records ready for both name servers:
- A record - showing the IP address to which each is spring
- NS records - ns1.domain.com and ns2.domain.com (showing the actual domain proper noun used)
Step iii: Register Proper noun Servers with Registrar
Afterwards server configuration is complete, the next footstep is to visit the domain registrar to register the two proper noun servers and point them to your domain. For further data on this process, please read the following commodity:
- Private Name Servers - Setup.
Once the name servers are registered, each domain set upward on the server volition have ns1.example.com and ns2.example.com as name servers. Yous can give this to your customer or go to your domain registrar and change name servers without having to register them again.

Source: https://www.hostgator.com/help/article/setting-default-name-servers-in-plesk
Posted by: welchtunised.blogspot.com
0 Response to "How To Register A Name Server In Ples"
Post a Comment